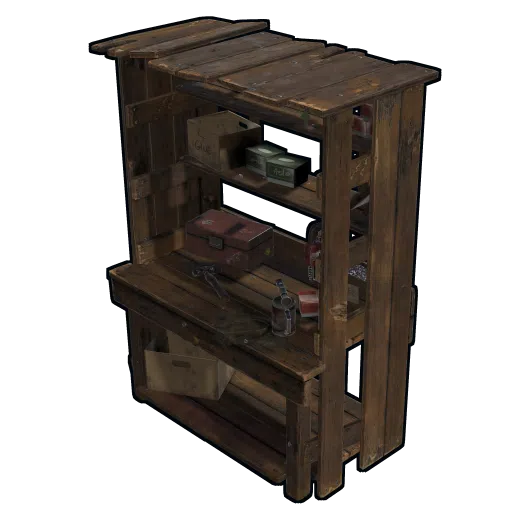
Characteristics
Overview
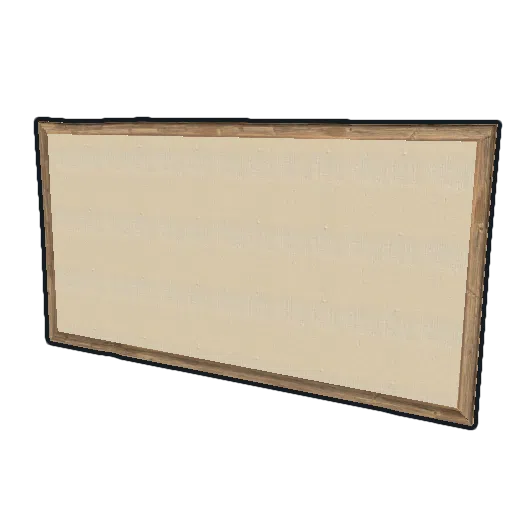
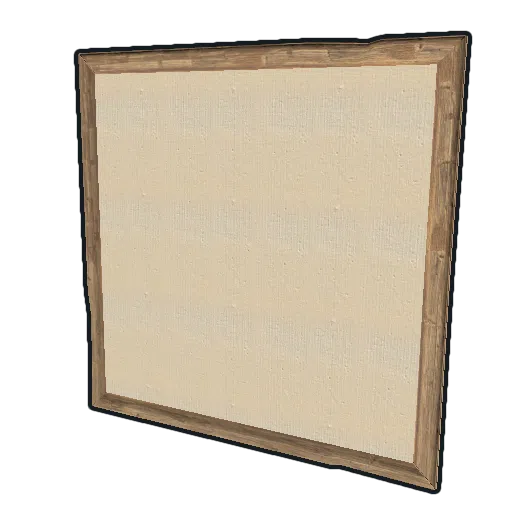
A poster that can display a given player's face as wanted.
Treat it as disposable. A poster of the guy who led last night's raid on you is only funny while the feud is fresh, and once his group quits or you make peace, it should come down. That costs you little: the craft is 20 wood with no bench, and a recycler hands part of it back, 8 to 15 wood depending on which one you feed it to. The red one gives the most.
Next to Wanted Poster 2 and the others, the rows show no difference at all. Same recipe, same craft time, same durability. If the third design suits your wall best, take it. If not, nothing is lost by picking another.
It holds no loot and blocks nothing, so it belongs with the decor in Items, not in a raid plan.
Raid cost
| Explosive | Quantity | Sulfur |
|---|---|---|
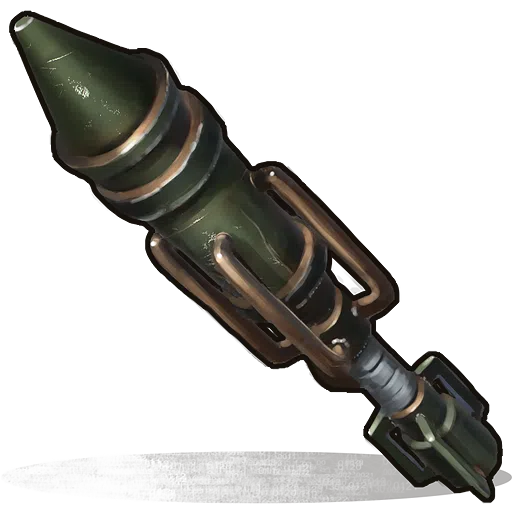
|
1 | 200 |

|
2 | 240 |

|
10–12 | 250–300 |
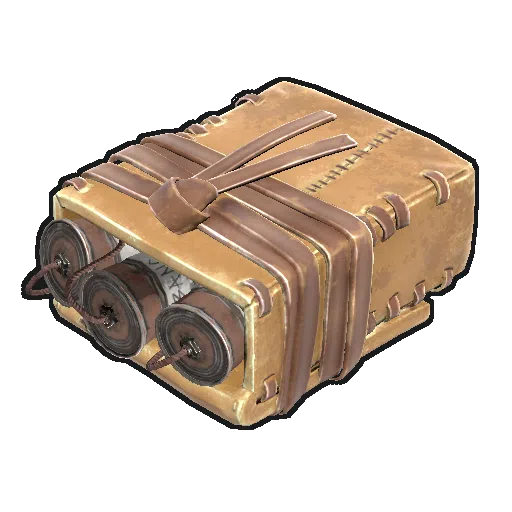
|
1 | 480 |

|
1 | 1,400 |
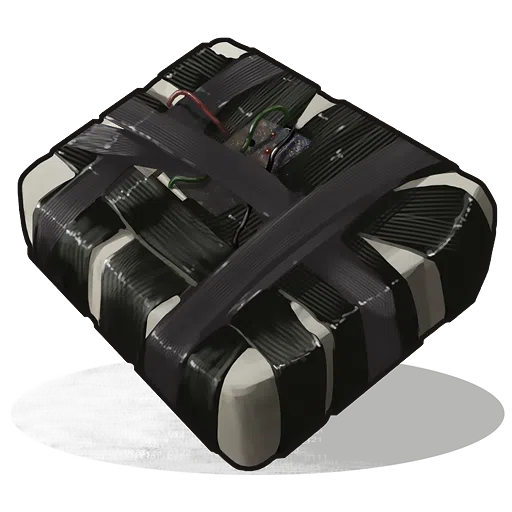
|
1 | 2,200 |
| Other ways: siege weapons, vehicles and loot | ||
|
1 | 60 |
|
1 | 200 |
|
8 | 480 |
|
1 | 600 |
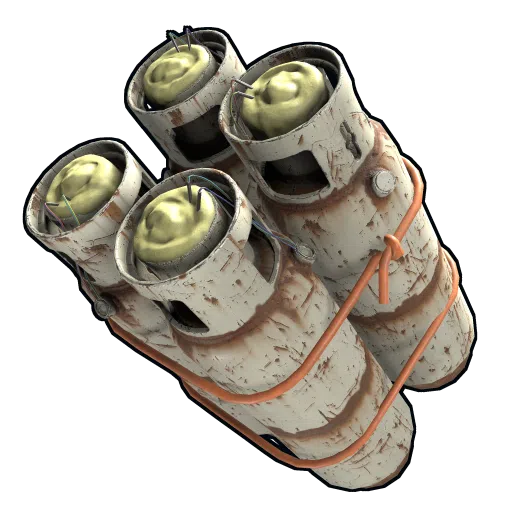
|
1 | 900 |
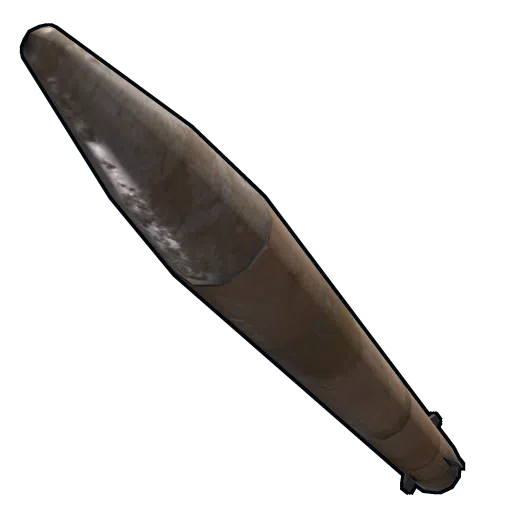
|
1 | — |
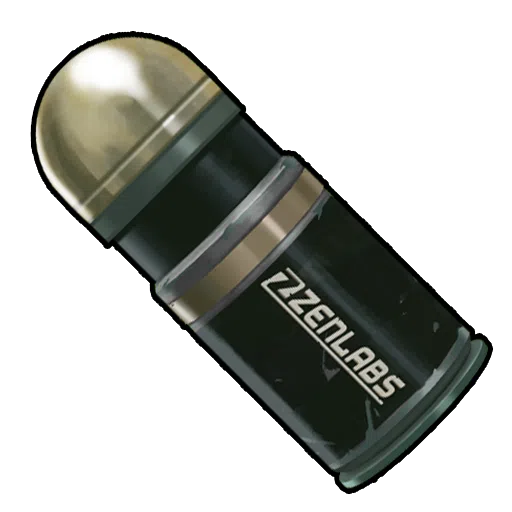
|
2 | — |
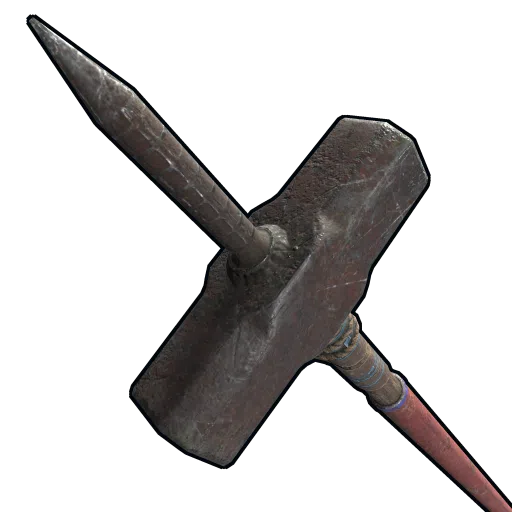
|
4 | — |
Direct hit, hard side, no duds. Beancan Grenade is a dud 15% of the time. Satchel Charge is a dud 20% of the time. A range runs from point blank to the far end of the bullet's falloff, fired from an Assault Rifle.
Recycling
At power grid stage 2 a green recycler works at 60% instead of 50%. Yields depend on the recycler.